How To - Install VSCode on Ubuntu Desktop 19.10 via GUI
Newer Linux distributions make installing software simple and straight forward. This is the case with installing Microsoft VSCode on Ubuntu Desktop 19.10. These instructions use the GUI Tools included in the OS. Other installation methods are possible including from the command line.
Text Instructions
Install
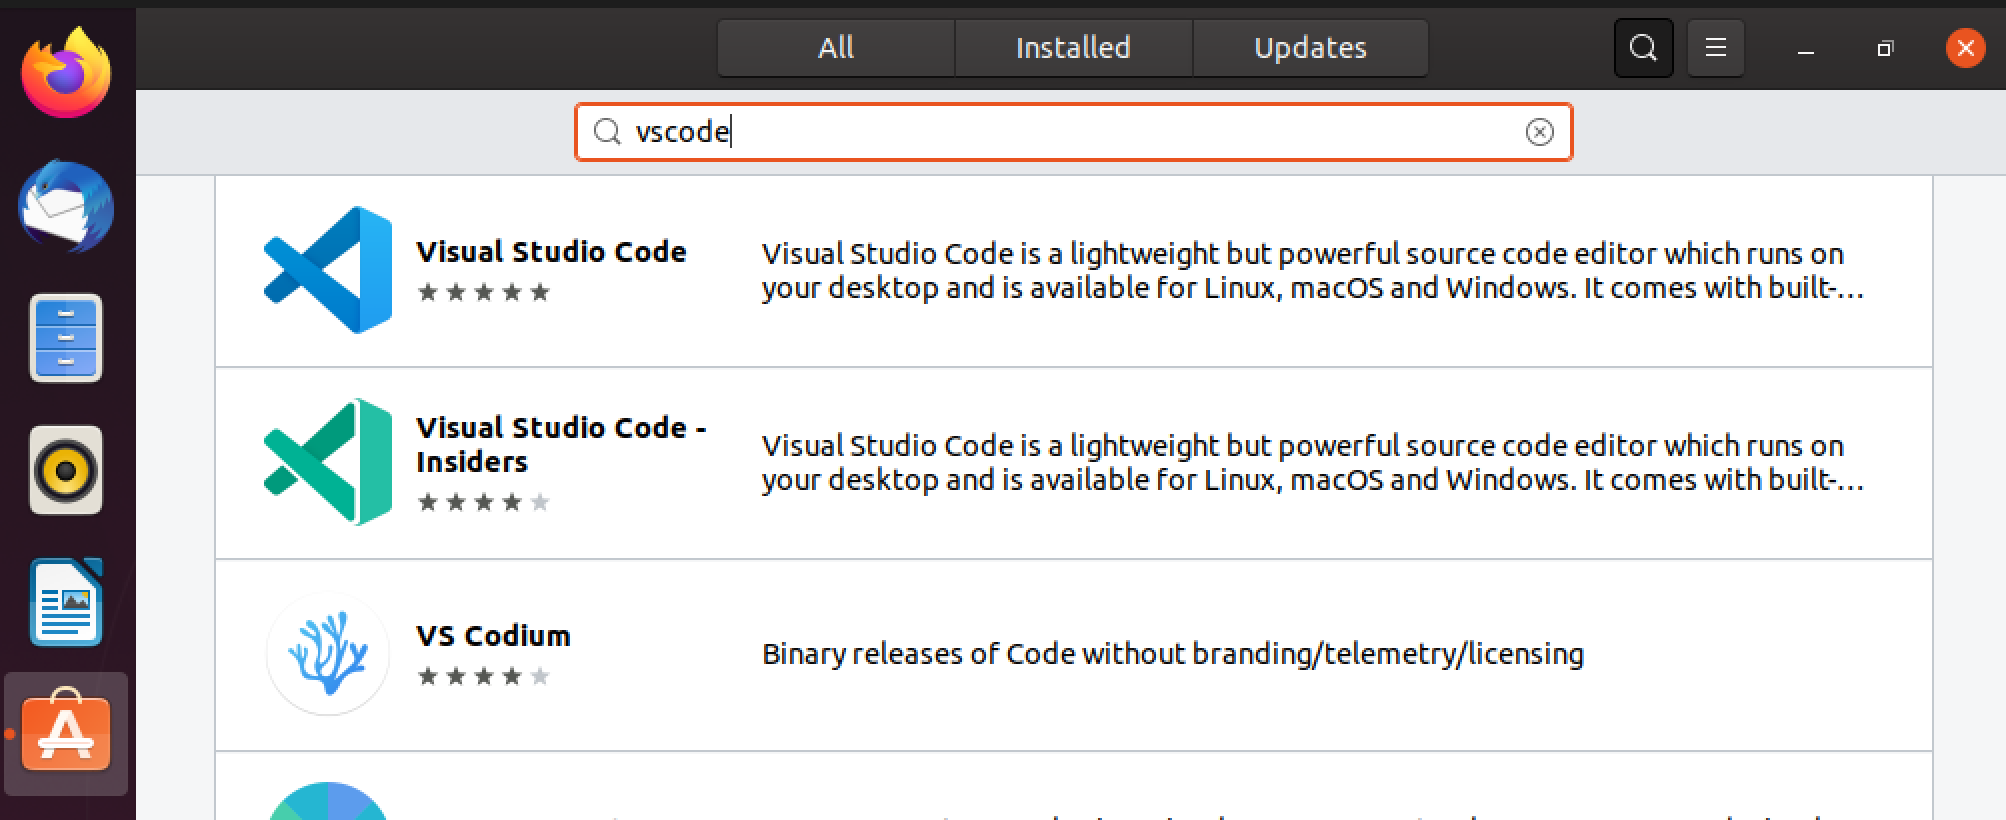
Open Ubuntu Software
Search for vscode
Select Install
Provide Password for an Elevated User Account then Press Authenticate
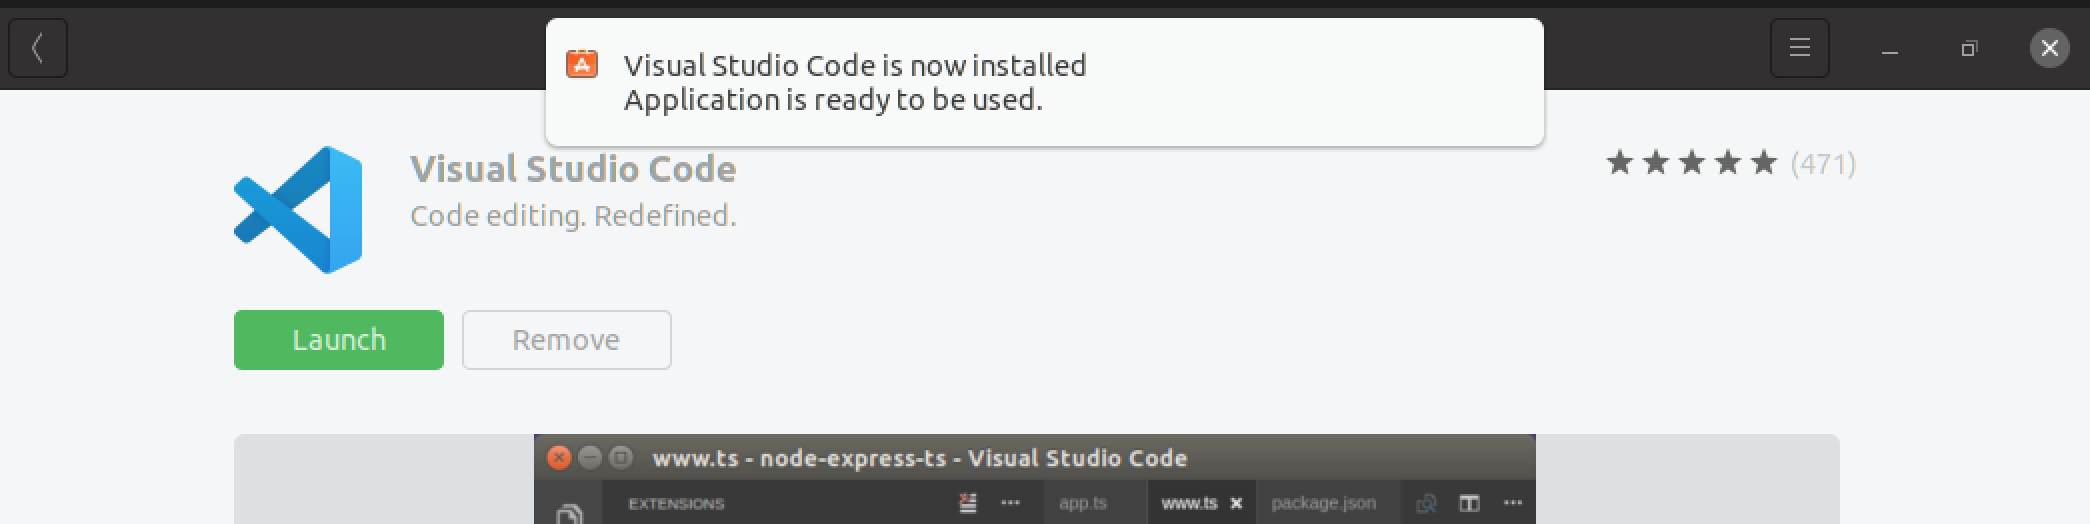
Wait for the Install to Complete Tracking Progress via the Status Bar.
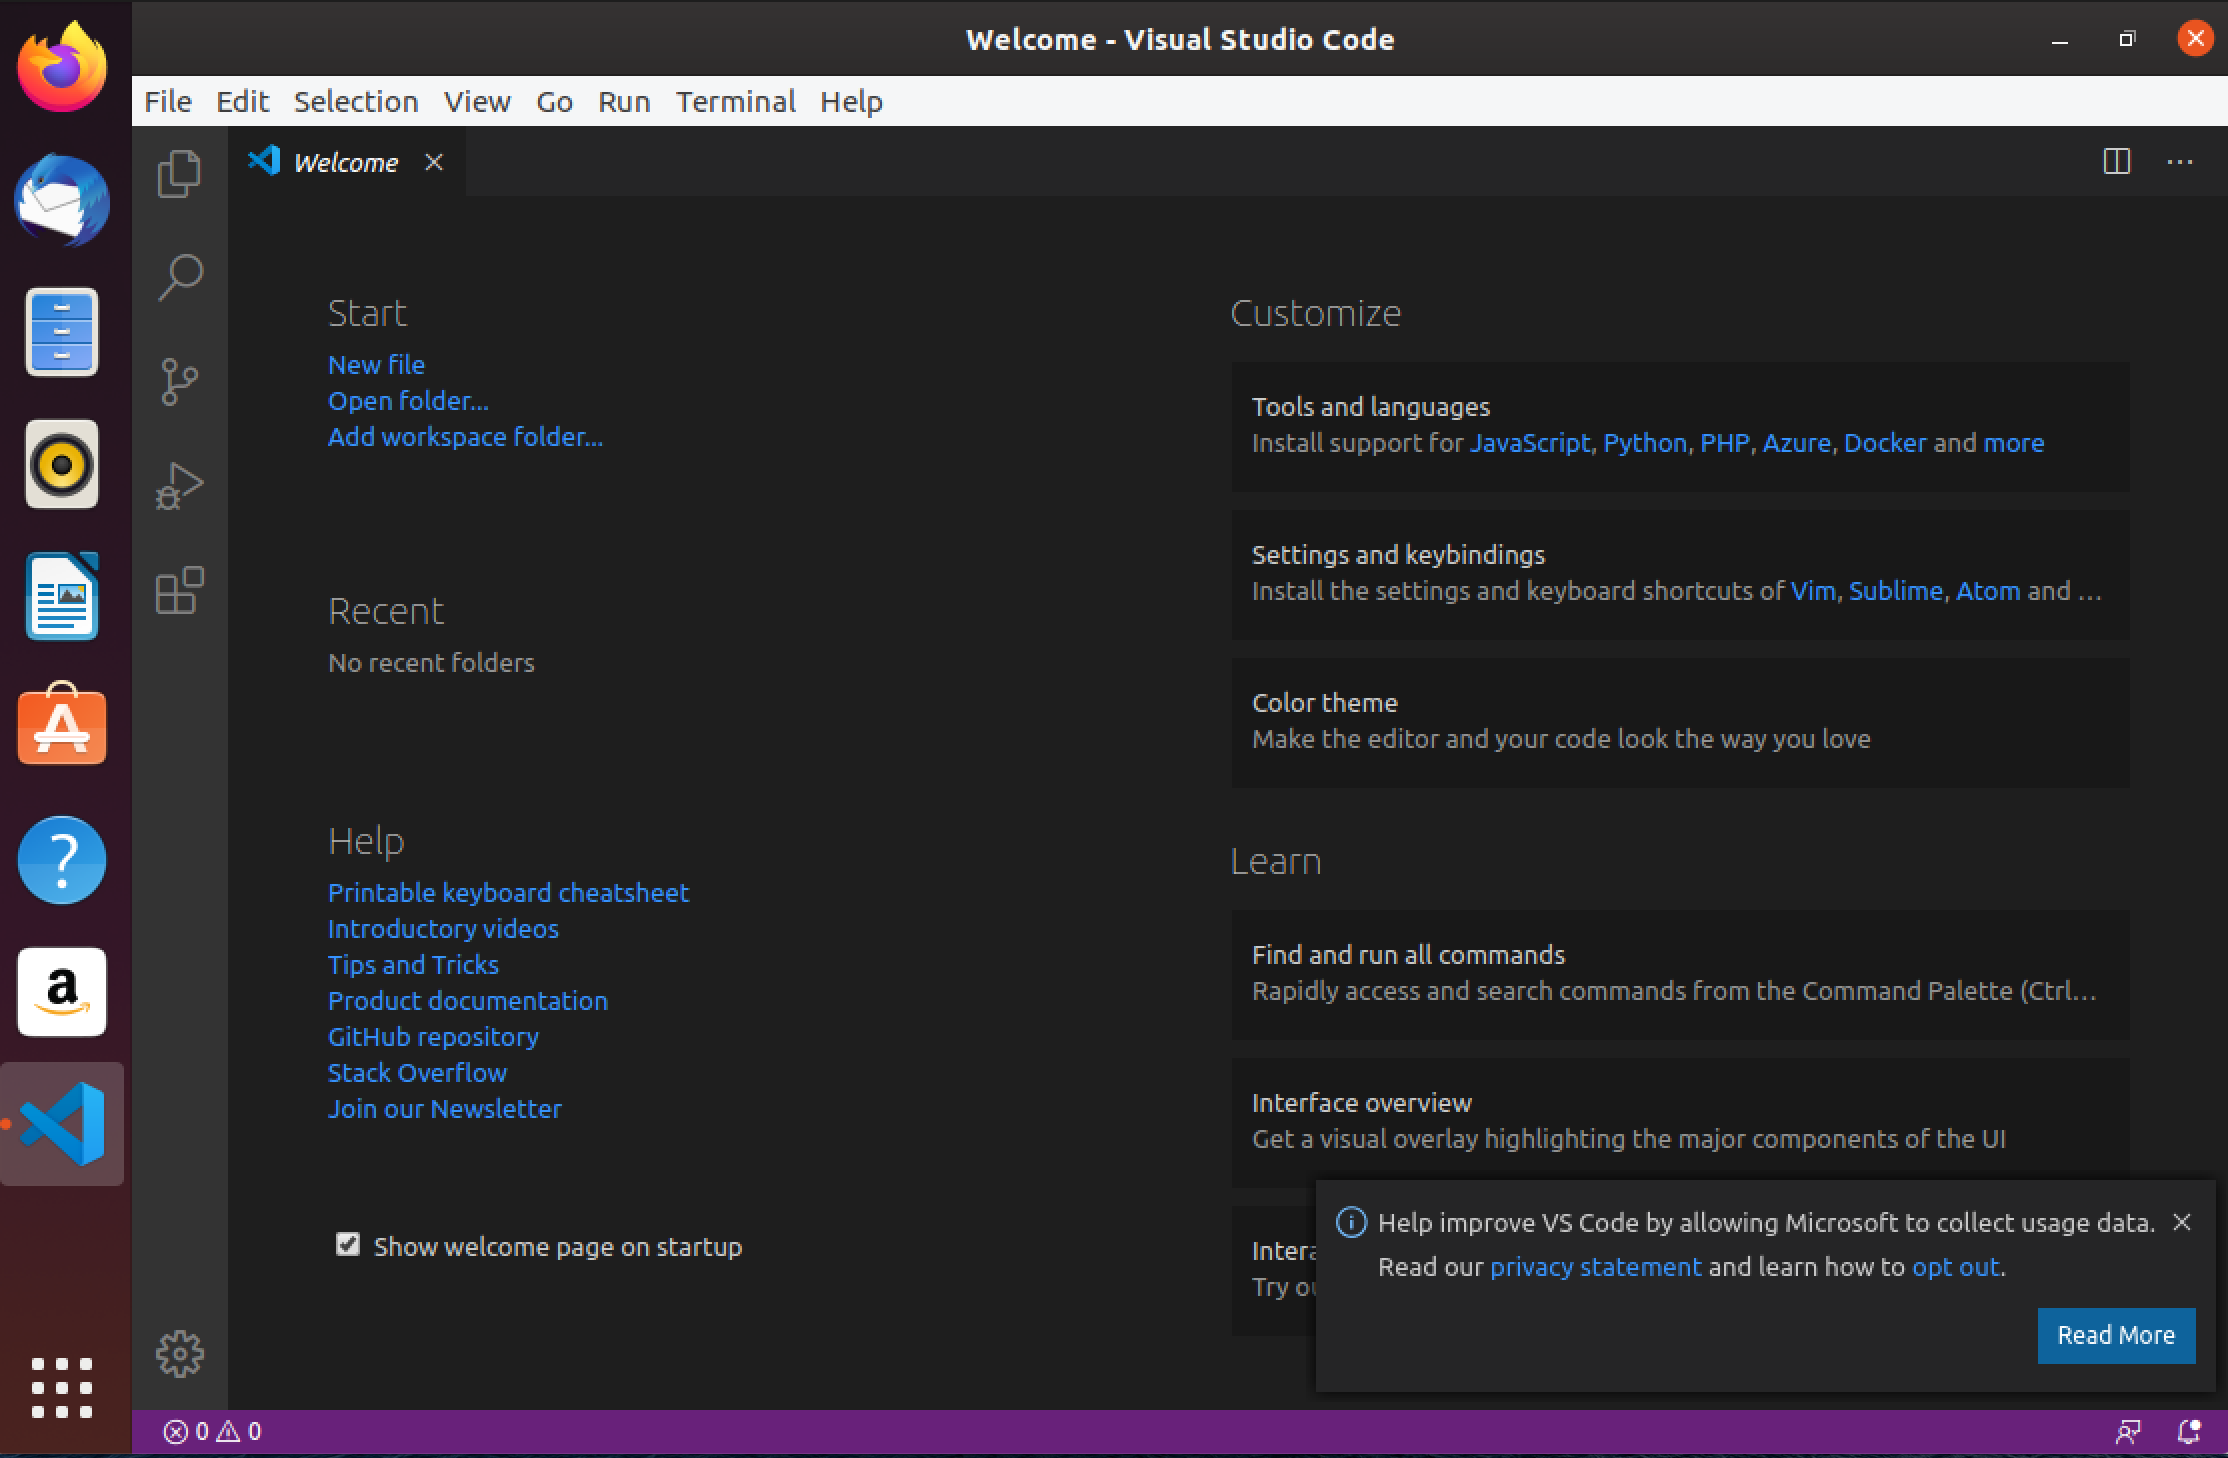
Launch VSCode
Select Applications
Change from Frequent to All
Scroll Down to VSCode
Click on the vscode icon to open the application
Instructions w/ Graphics
Open Ubuntu Software

Search for vscode
Select Install

Provide Password for an Elevated User Account then Press Authenticate

Launch VSCode once the “Visual Studio Code is now installed. Application is ready to be used.” message appears
Visual Studio Code should open and be ready to use. At this point, it’s a good idea to set preferences and install extensions.